Hey! Have you ever came across any cool video with text animations that moves so smoothly, or with flashy effects, or with some transitions so satisfying and thought, “How on earth are they doing this?” You would be surprised just how many of such videos are created with an app called Alight Motion.
If you are absolutely new to video editing or you have been using not so user-friendly apps, then you are at the right place. This guide is like a friendly no-jargon map to what Alight Motion is all about, why it is so popular, and how you can start using it. You don’t need a fancy film school degree—just your phone and a little creativity.
So, What Exactly Is Alight Motion?
Alight Motion is essentially a professional video editing and motion graphics software right on your smartphone. In other words, a quasi version of Photoshop for video, but it is in your pocket instead of your laptop.
While a CapCut or iMovie are good for just slicing clips and applying a few filters, Alight Motion is powerful enough for things like animated, special effects, and custom designs.
Here are some examples of what you can create with this app:
- That slick channel intro for your YouTube channel.
- Those stylish, kinetic text videos for Instagram Reels or TikTok.
- Visual effects which are complex such as glitches, particle explosion, or neon trails.
- Logo, sticker, or your own custom video template animation.
The Big Deal: It was one of the first apps to bring vector graphics and keyframe animation (more on these magic words later) to mobile in a way that’s actually usable. This means you can create sharp, scalable animations that don’t look pixelated, all with precise control.
Visit more : Top 10 Alight Motion Editing Techniques Every Creator Should Know
Why Are People Switching to Alight Motion? (The Key Benefits)
There are several reasons why this app has such a loyal fanbase:
- Pro-Level Tools on a Mobile Device: It gives you a layer-based editing timeline, color curves, chroma key (green screen), blend modes, and audio editing. These are tools editors used to need a computer for.
- Freedom to Create Anything: Unlike apps with locked-in templates, Alight Motion is a blank canvas. You build effects from the ground up. This means your videos don’t look like everyone else’s—they have your unique stamp.
- It’s (Partly) Free! You can download Alight Motion and use a massive chunk of its features without paying a dime. Watermarks are minimal. To unlock everything (like certain premium effects and assets), there’s a subscription or one-time purchase.
- Regular Updates: The developers constantly add new features, effects, and content, so the app keeps getting better.
For : How to Create Viral TikTok Edits Using Alight Motion
Getting Started: Your First Steps as a Beginner
Excited? Here’s the thing: at first, all you see is a complicated interface. Just don’t feel intimidated by that, it is normal. Here is what you can do on the very first day to get the hang of it.
1. Download and First Look
Available on Google Play Store (for Android) and App Store (for iPhone/iPad). After you open it, just click on starting a new project.
And for APK : Use alightmotionapp
2. Understanding the “Layer” System (This is CRUCIAL!)
Don’t think of it as a single video track. An Alight Motion is more visually transparent stacked sheets:
You can set layers on and off, move them up and down, and edit each one without changing the others. This layer system is at your finger tips.
3. Meet Your Two Best Friends: The Timeline & Keyframes
- The Timeline: This is a place where you set up everything according to time. You can see all your layers just like strips here. Drag them to make them shorter, longer, or move when they start and end.
- Keyframes (The Magic Button): This is what makes an animation work perfectly. An animator uses the letter Ⓑ and says, “Let me place this word here and the size of this word here.” Without any further keyframes, this and that word would remain as they are for the rest of the animation. But then another animator is using the letter Ⓑ to say, “Now, the first word is over here and the second one is twice as big.” The software then automatically generates the transition between those two points. You can keyframe position, scale, rotation, color, and almost any effect.
Let’s Make Something Simple: A Basic Text Animation
Follow the instructions and see how everything fits together:
- Start a new project: Select a 9:16 vertical format.
- Add a color background: Click the + icon > Color > select a color that you like.
- Add the text: Hit the + button again > Text. Enter your greeting (e.g., “Hi Alight!”) Customize the font and the color from the menu that appears.
- Get your text moving!: On the timeline, tap the text layer that you want to animate. Place the playhead at the beginning of the clip. To put in the initial keyframe, tap the diamond-shaped icon beside “Position”.
- Place the playhead one second into the clip. In the preview window, pull your text upwards from the middle. You can see a new keyframe is created automatically?
- Press play. Boom! Your text now smoothly moves upward. You just used keyframes!
- Share your work: Tap the up-arrow on the right side of the top bar. Quality and frame rate can be adjusted. Free edition will introduce a small watermark at the bottom; Pro way will remove it.
Must-Know Features to Explore Next
When you have mastered the basics, open these to get better:
- Vector Graphics & Shapes: Drawings and shapes that you make yourself and that have a quality of being perfectly clear no matter how much you zoom in. Find this under the + > Graphics and Shapes menu.
- Visual Effects (FX): Think about it as enjoying the process! Put on blurs, glows, distortions, and color corrections. Select any layer, then click the FX tab.
- Blend Modes: These are the operating modes of layers to mix with each other. “Add” or “Screen” can make a light emission, “Multiply” can add a shadow. Have fun!!!
- Chroma Key: This is a “green screen” kit. If your clip has a single-color background, this tool will remove it and turn it into transparency.
Tips from a Regular User (That’s Me!)
- Start Small: Don’t try to recreate a Marvel movie intro on the first day. Make a nice text post for your story first.
- Copy to Learn: See an effect you like on social media? Try to reproduce it. This is the best way to learn.
- Use the Community: Search #alightmotion or #alightmotiontutorial on YouTube, TikTok, or Instagram. There are literally thousands of free, step-by-step tutorials for every effect in the world.
- Save Your “Defaults”: Created a text style you really dig? Long-press it in the editor and “Save as Default.” Future you will be thankful.
- Mind Your Storage: High-quality projects and exports can take up a lot of space on your phone. Make a little cleaning up every now and then in the app’s “Projects” section.
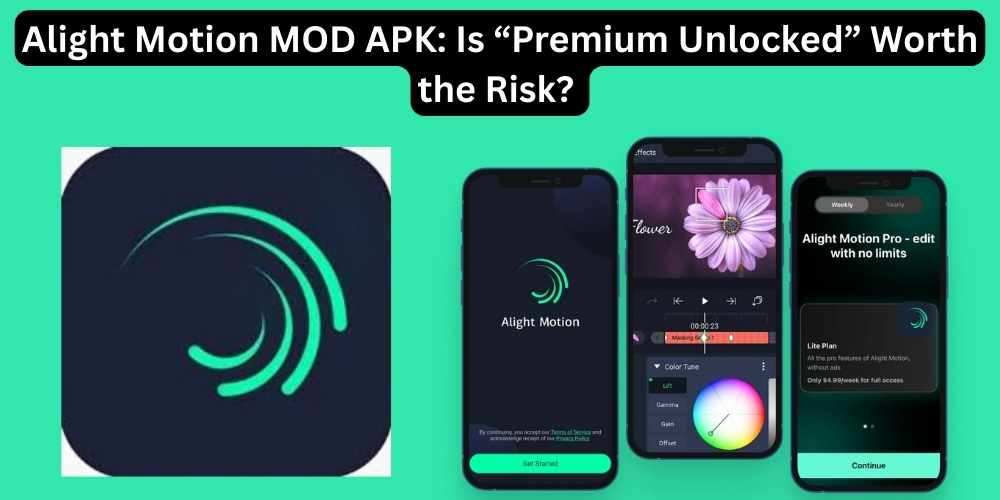
Is Alight Motion Pro Worth It?
The free version is already very powerful. However, if you are really into-making Alight Motion Pro is the way to go as it unites all the features, gets rid of watermarks, and gives you access to premium content packs. You can pay monthly, yearly, or—as the best value—make a one-time permanent purchase for your device. Give the free version a shot first, fall in love with the process, and then think about the upgrade.
Final Verdict: Should You Use It?
In case you just want to make normal, quick-cut videos with filters, simpler apps might be quicker. But if you desire to design, animate, and make one-of-a-kind visual content that will get people to stop and say “WOW,” then Alight Motion is totally for you.
There is a learning curve, but it is the most rewarding tool on the mobile platform. You are not merely editing videos; you are assembling them frame by frame. Such creative power feels absolutely amazing.
So, what are you waiting for? Download Alight Motion, hit that big “+” button, and start messing around. Your first animation is just a few keyframes away. Happy creating! 🎬
P.S. Stuck on something? The in-app help is actually nice, and again—the online community is enormous and friendly. Go find your people!