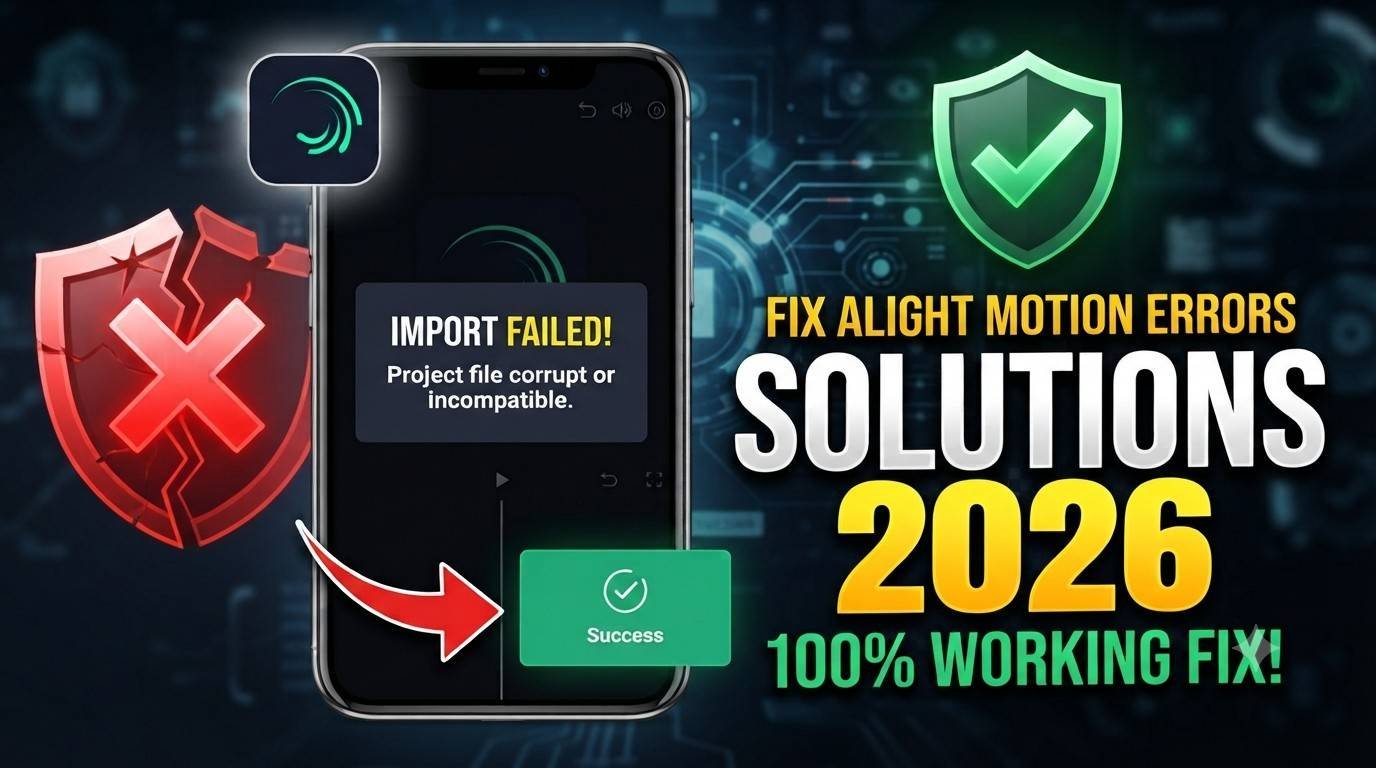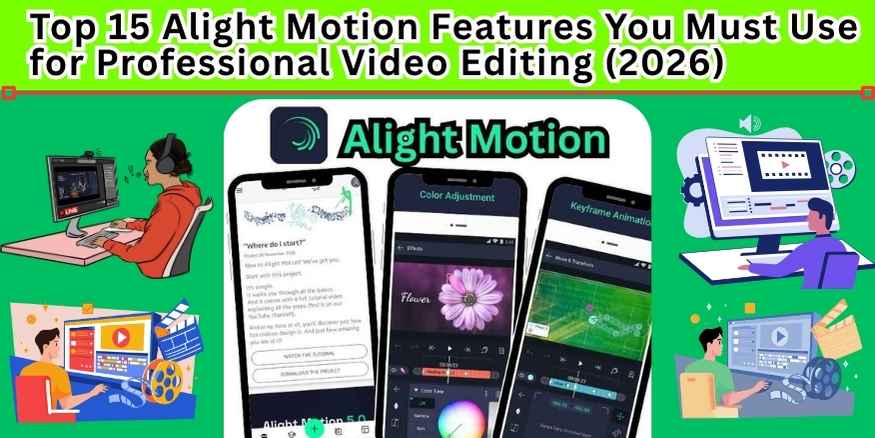
If you love making videos on your phone or tablet, you have probably heard of Alight Motion. This app is a powerhouse for creators. In 2026, it will be even better. Many people think you need an expensive computer to make professional videos. That is not true anymore. Alight Motion gives you tools that look like they came from Hollywood, but you can use them while sitting on your couch.
In this article, I will show you the top 15 features inside Alight Motion that will take your videos from simple to stunning. Whether you make YouTube videos, TikTok content, or Instagram Reels, these features will help you stand out. Let us dive in.
If you want to download Alight Motion MOD APK . Our site is a more trusted site foe this.
1. Multiple Layering and Grouping
The first thing you must learn is multiple layering and grouping. In simple words, layering means putting one video or image on top of another. Think of it like a sandwich. Your background is the bottom bread. Your main video is the cheese. Your text is the tomato on top.
Alight Motion lets you add unlimited layers. But the real magic is grouping. You can take ten layers, put them in a group, and then move or change all ten at the same time. This saves hours of work. For professional editing, you need control. Grouping gives you that control. You can also color code your groups. This means you never get lost, even if your project has fifty layers. Use grouping to make complex animations that look smooth and clean.
2. Keyframe Animation
If you only learn one feature, learn keyframe animation. Keyframes are like little markers that tell the app where something should be at a certain time. For example, you want a logo to slide in from the left. You put one keyframe at the start (logo off screen) and one keyframe at the end (logo in the middle). Alight Motion does the rest automatically.
In 2026, Alight Motion has improved keyframes with better curves. You can make things move fast at first and then slow down gently. This is called easing. Professional editors use easing to make movements feel natural, not robotic. You can animate position, scale, rotation, color, and even effects. Once you master keyframes, you can make almost anything move exactly how you want.
3. Vector Graphics Support
Most video editors on phones only work with pixels. That means when you zoom in, the image gets blurry. Vector graphics support changes everything. Vectors are made of math, not dots. You can zoom in forever and the image stays sharp.
Alight Motion lets you import vector files from apps like Adobe Illustrator. You can also draw your own vectors inside the app. This is amazing for making logos, stickers, and title graphics. In 2026, vector support is faster and smoother than ever. You can animate each part of a vector separately. For example, you can make a character’s arm move without moving the whole body. This is professional level work on a phone.
4. Fill, Stroke, and Shadow for Shapes
When you draw a shape, do not just leave it flat. Use fill, stroke, and shadow to make it pop. Fill is the inside color. Stroke is the border around the shape. Shadow adds depth. Alight Motion gives you total control over all three.
You can make a circle with a bright pink fill, a thick black stroke, and a soft blue shadow. This looks like a 3D sticker. For text, adding a stroke makes it readable over busy backgrounds. Adding a shadow makes it look like the text is floating. These small details separate amateur videos from professional ones. Spend time playing with these settings. You will be surprised how much better your titles look.
5. Blend Modes
Blend modes are like magic for combining layers. Have you ever seen a video where light leaks or dust particles look like they are really inside the scene? That is blend modes at work. Alight Motion has dozens of blend modes like Multiply, Screen, Overlay, and Add.
Here is a simple example. You put a video of fire on top of a text layer. If you use the normal blend mode, the fire has a black box around it. But if you use the Screen blend mode, the black disappears. Only the bright fire remains, dancing inside your text. This makes your titles look incredibly cool. Blend modes also help with color grading. You can add a solid color layer over your video, set it to Overlay, and instantly change the mood of the whole scene.
6. Curve and Easing Editor
We talked about keyframes earlier. Now let us talk about the curve and easing editor. When something moves, it should not move at a constant speed. That looks cheap. Real objects speed up and slow down. A ball thrown in the air starts fast, slows at the top, and speeds up coming down.
Alight Motion has a graph editor where you can draw the exact speed of your animation. You can make bouncy movements, elastic movements, or smooth slow motions. In 2026, the easing editor has new presets like “Breathing” and “Smooth Step.” These presets save time. But you can also adjust the graph by hand. Professional editors spend time here because good easing makes the whole video feel more expensive.
7. Chroma Key (Green Screen)
Do you want to put yourself on the moon? Or inside a music video? You need chroma key. This feature removes a specific color from your video. Usually, that color is bright green. You film yourself in front of a green screen. Then in Alight Motion, you select the green color, and it becomes transparent.
Now you can put any background behind you. In 2026, the chroma key tool is very precise. You can adjust the tolerance, which means how close to pure green you want to remove. You can also blur the edges slightly so your hair does not look crunchy. Chroma key is essential for news-style videos, creative storytelling, and product reviews. It is one of those features that makes people say, “Wow, you made that on your phone?”
8. Particle Effects
Want snow falling? Sparks flying? Magic dust floating? Particle effects do all of that. Alight Motion has a built-in particle system. You do not need to download external videos. You just choose a particle type, adjust the settings, and the app generates thousands of tiny moving objects.
You can change the size, speed, direction, color, and lifespan of particles. In 2026, there is a new “Interactive Particles” mode. The particles react to your keyframe animations. For example, if you move a text layer through the particles, they bounce away. This looks incredibly high-end. Use particles for intros, transitions, or to highlight important moments in your video. A little bit of particle effect goes a long way to making your video feel magical.
9. Realtime Preview and Background Rendering
Nothing is more frustrating than waiting for a video to process just to see one small mistake. Realtime preview in Alight Motion is a lifesaver. You can play your video and see effects, keyframes, and layers working instantly. There is no lag if your project is not too heavy.
Even better is background rendering. In 2026, you can export a video while continuing to edit another project. The export happens in the background. You can even close the app and come back later. The export will continue. This saves massive amounts of time. Professional editors work on multiple videos at once. Background rendering makes that possible on a phone or tablet.
10. Audio Waveform Visualization
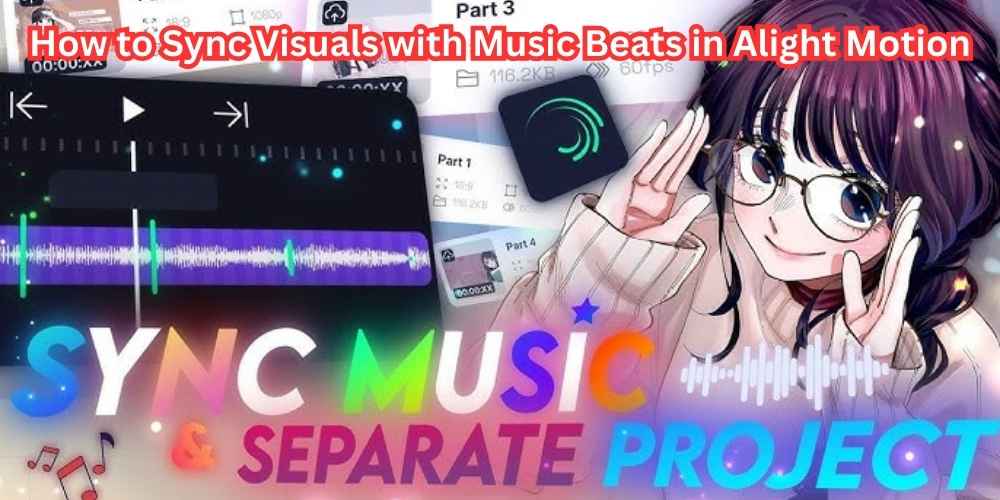
If you make music videos, podcast clips, or voiceover content, you need audio waveform visualization. This feature shows the sound as a moving graph. You can see exactly where the loud parts and quiet parts are. Then you can animate your video to match the beats.
Alight Motion lets you create custom waveform shapes. You can make a circle that pulses with the bass. You can make bars that jump with the drums. You can even put the waveform behind text. In 2026, there is a new “Beat Detection” tool. The app automatically finds the beats in your music and places markers. You can then snap keyframes to those markers. This makes editing to music incredibly fast. No more guessing where the beat is.
11. Masking and Path Tracing
Masking is how you hide parts of a layer. Imagine you have a video of a car. You want to change only the color of the car, not the background. You draw a mask around the car. Now any effect you apply only affects the inside of the mask. This is powerful for color correction, effects, and compositing.
Alight Motion has several mask shapes like rectangle, circle, and freehand. You can also animate the mask path. This is called path tracing. For example, you can have a light that moves across the screen, and the mask follows that light. Only the area under the light is visible. Everything else is dark. This creates dramatic reveals and hidden surprises. Masking takes practice, but it is a true professional skill. Once you learn it, you can fix almost any problem in a video.
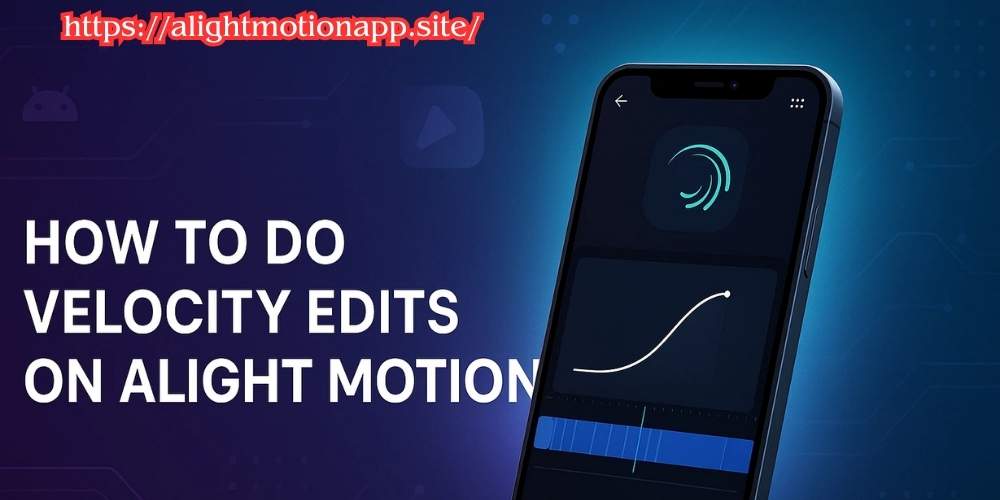
12. Speed Ramping and Time Remapping
Slow motion is cool. Fast motion is fun. But speed ramping is art. Speed ramping means changing the speed smoothly during the same clip. A runner starts at normal speed, then slows down as they jump, then speeds up again when they land. That is speed ramping.
Alight Motion has a time remapping tool. You add keyframes to the speed graph. You can drag the graph up for faster and down for slower. In 2026, the speed transitions are much smoother. There is no stuttering or weird frame skipping. You can also reverse clips easily. Speed ramping is very popular in action sports videos, dance videos, and cinematic travel videos. It adds drama and focus to the most important moments.
13. Color Correction and Filters
You can have the best animation in the world, but if the colors look bad, the video looks cheap. Color correction fixes that. Alight Motion gives you tools like brightness, contrast, saturation, and temperature. You can make a dark video brighter. You can make a dull video more colorful. You can make a warm sunset look cool and moody.
Beyond basic tools, there are filters. Alight Motion has dozens of built-in filters like Vintage, Cyberpunk, and Film Look. In 2026, you can stack multiple filters and adjust the strength of each. You can also save your own custom filter presets. This means if you find a color look you love, you can apply it to all your videos with one tap. Professional editors always color correct before exporting. It is the polish that makes everything look cohesive.
14. Export Options and Resolution
What good is a beautiful video if you cannot share it? Export options in Alight Motion are very flexible. You can export in 4K resolution in 2026 on most devices. That is ultra high definition. You can also choose the frame rate, like 24fps for a film look or 60fps for smooth gaming videos.
You can export as MP4, GIF, or even image sequences. For professional work, you also get control over the bitrate. Higher bitrate means better quality but larger file size. Lower bitrate means smaller file but possible blocky artifacts. Alight Motion lets you find the perfect balance. You can also export individual layers as PNG sequences. This is useful if you want to take your animation into another program. Having professional export options means your videos will look good on any screen, from a phone to a movie theater.
15. Community Presets and Resources
The last feature is not inside the menus, but it is just as important. The community presets and resources around Alight Motion are huge. In 2026, thousands of editors share their custom effects, transitions, and templates. You can download a preset for a glitch effect, a neon glow, or a smooth zoom. Then you apply it to your layer with one tap.
You can also share your own presets. This saves time and teaches you new techniques. The Alight Motion community on YouTube, TikTok, and Discord is very active. You can find free presets for almost any style. Some professional editors even sell their preset packs. Using presets is not cheating. It is working smart. You still need to know how to adjust them to fit your video. But starting from a good preset can save you hours of work.
Putting It All Together for Professional Results
Now you know the top 15 features. But how do you actually use them together for professional video editing? Let me give you a simple workflow.
First, plan your video. Know what you want to make. Then open Alight Motion and start with multiple layering. Put your main video on layer one. Add text on layer two. Add a logo on layer three.
Second, use keyframe animation to bring everything in smoothly. Set your easing curves so movements feel natural. Add particle effects for magic or snow. Use blend modes to blend light leaks or textures.
Third, color correct everything. Make sure all clips have similar brightness and color. Apply a filter if it fits your mood.
Fourth, add audio. Use audio waveform visualization to see your beats. Animate something to those beats.
Fifth, export with the right settings. For YouTube, use high bitrate 4K. For TikTok, use lower bitrate to save space.
Finally, share your video and watch people ask, “What software did you use?” And you can smile and say, “Alight Motion on my phone.”
Why Alight Motion Stands Out in 2026
There are many video editing apps. Some are too simple. Some are too complicated. Alight Motion finds the perfect middle. It has vector graphics and keyframe animation like expensive desktop software. But it runs on a phone. It has chroma key and masking for professional compositing. But the interface is clean and easy to learn.
In 2026, Alight Motion added better performance. Even projects with many layers run smoothly on mid-range phones. The developers listen to users. New features come out regularly. There is also a free version, though the paid subscription is very affordable for the power you get.
For students, hobbyists, and even full-time video creators, Alight Motion is a must-have. You do not need a computer. You do not need a camera crew. You just need your creativity and this app.
Final Thoughts
Learning all fifteen features will take time. Do not try to master everything in one day. Start with keyframe animation and layering. Those two alone will improve your videos 100 percent. Then add blend modes and masking. Then experiment with particle effects and speed ramping. Each new feature opens up more creative possibilities.
The most important thing is to practice. Open Alight Motion every day for ten minutes. Make a small animation. Try one new feature. Watch tutorials from the community. Before you know it, you will be making videos that look like they came from a professional studio.
So go ahead. Download Alight Motion if you have not already. Start a new project. Play with these fifteen features. And most importantly, have fun. Video editing is a skill, but it is also an art. Your unique style is what will make your videos special. The tools are just there to help you express yourself.
Happy editing.
Visit More Related Articles :
- Advanced Animation Tricks in Alight Motion – Explore techniques like parallax, overlay, particle effects, and cinematic motion
- How to Create Viral TikTok Edits Using Alight Motion
- Top 10 Alight Motion Editing Techniques Every Creator Should Know — Elementor
- How-to-use-keyframes-like-a-pro-in-alight-motion-smooth-animations-guide/