You downloaded Alight Motion on your iPhone because you saw a clean edit on Reels or TikTok and thought, ok. I need that look.
Then you open the app and it’s like. Layers. Timelines. Keyframes. A million icons that all look important.
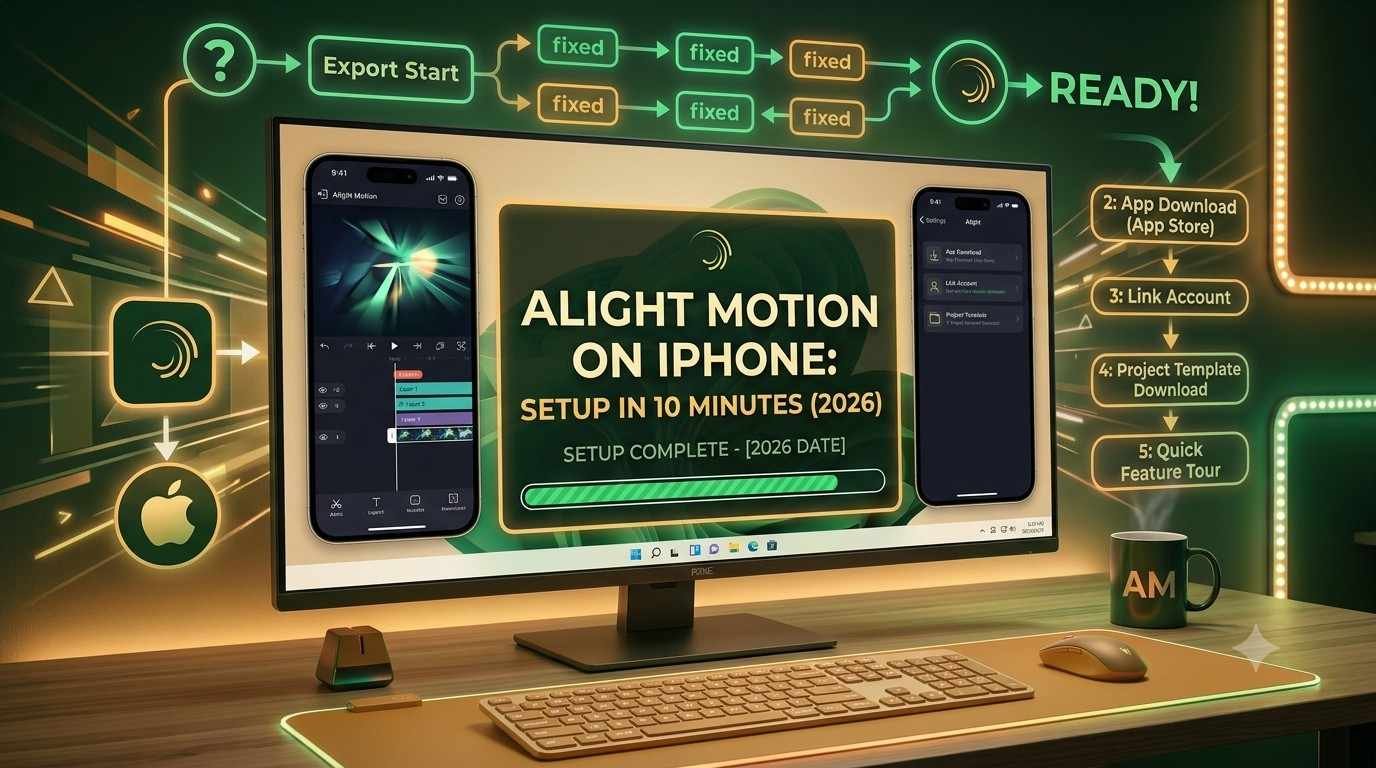
So this is the fast setup. Not a masterclass. Not a “become a motion designer” thing. Just get Alight Motion working on iPhone in about 10 minutes, with the right project settings, the right export settings, and a couple of habits that stop your phone from cooking itself.
I’m writing this like I’d tell a friend who wants to post today.
What you need before you even open the app
Quick checklist. Do this first or you’ll be annoyed later.
1) Update iOS + the app
- Go to App Store → Alight Motion → Update
- Go to Settings → General → Software Update
2) Free space If you’re tight on storage, previews will stutter and exports can fail. Try to keep 5 to 10GB free if you can.
3) Decide where your clips are coming from
- Photos app (simple)
- Files app (if you’re moving packs, fonts, audio)
4) Optional but helpful
- A charger nearby.
- Low Power Mode off while exporting (exports can slow down a lot).
Minute 1: Install and open Alight Motion
Download: Alight Motion from the App Store.
When it opens, it’s going to ask for permissions.
Give it these permissions
- Photos access: Allow (at least “Selected Photos” if you prefer privacy)
- Microphone: Only if you plan to record voiceovers in-app
- Notifications: Optional, I usually say no
If you accidentally blocked Photos access:
- Settings → Apps → Alight Motion → Photos → All Photos (or Selected)
Minute 2: Pick the right project preset (this matters more than people admit)
This is where most “my export looks blurry” problems start.
In Alight Motion:
- Tap + to create a new project
- Set Aspect Ratio
- Set Resolution
- Set Frame Rate
- Set Background color (usually black)
Use these presets (2026 safe defaults)
For TikTok and Reels (most people)
- Aspect ratio: 9:16
- Resolution: 1080p
- Frame rate: 30 fps (use 60 only if your footage is 60 and your edit is very motion heavy)
For YouTube Shorts (same thing basically)
- 9:16
- 1080p
- 30 fps
For YouTube (normal horizontal)
- 16:9
- 1080p
- 30 fps or 60 fps depending on your footage
For crisp motion design (if you know you’ll zoom a lot)
- Resolution: 1440p can help, but exports get heavier. On iPhone, I only do this if I truly need it.
Small note: If your source video is 4K, exporting 1080p is still fine for social. What matters more is bitrate and not over-compressing the final file.

Minute 3: Turn on the 3 settings that save your sanity
Alight Motion has a lot going on. You want smoother previews and fewer accidental mistakes.
Inside a project, look for Settings (usually a gear icon depending on version) and check:
1) Preview quality
Set preview to something reasonable. Not “Best” if your phone starts dropping frames.
- Use Medium while editing
- Switch to High only when checking final motion
2) Snapping
Turn Snapping ON so clips actually align to beats and cuts without micro gaps.
3) Autosave / backups (if available)
If you see any option for project backups, enable it. Motion apps crash sometimes. It’s life.
Minute 4: Import your first clip the clean way
You can import in a few ways. The easiest:
- Tap Media (or the plus button in the timeline)
- Choose Image/Video
- Pick your clip from Photos
If your video imports without audio
This happens sometimes with certain formats. Fix attempts:
- Re-export the clip from your camera app or CapCut
- Or convert it via an iOS Shortcut
- Or bring the audio separately as a music file
Minute 5: Basic timeline setup (the “don’t fight the app” method)
Ok, now you have footage on the timeline.
Here are the 4 gestures you’ll use constantly:
- Pinch to zoom timeline
- Two finger drag to move around the timeline
- Tap to select a layer
- Long press to reorder layers
Do this immediately
- Rename layers if the project has more than 3 clips. Yes it feels extra. It saves you later.
To rename: tap the layer → options → rename.
Minute 6: Add the 3 most-used tools (and ignore the rest for now)
If you’re setting up fast, these are enough to start making edits that look “real”.
1) Trim and split
- Move playhead where you want the cut
- Tap clip → Split
- Delete what you don’t need
2) Keyframes (simple version)
Keyframes are why Alight Motion is popular. But don’t overthink.
Try this:
- Tap your clip
- Find Transform (Position/Scale/Rotation)
- Add a keyframe at the start
- Move forward 10 to 20 frames
- Scale up slightly (like 100% to 108%)
- Done. Instant slow zoom.
That’s already better than most “template edits”.
3) Motion blur (if available in your version)
If you’re doing fast movement or text swipes, motion blur helps a lot.
- Add it gently. Too much looks like mud.

Minute 7: Add text that doesn’t look like default iPhone captions
Text is where edits look cheap fast. The fix is usually spacing, font choice, and a tiny bit of animation.
Add text
- Tap +
- Choose Text
- Type your words
- Pick a font
Use better fonts on iPhone (optional but worth it)
You can [install fonts via:
- iFont app](https://dev.to/mattstratton/my-brewfile-1pob)
- Or install profiles (if you’re comfortable)
- Or use Apple’s font installers depending on what you have
Then Alight Motion can usually see those fonts.
Quick “clean caption” settings
- Slightly increased letter spacing if the font is tight
- Use off-white instead of pure white sometimes (#F2F2F2 vibe)
- Add a subtle shadow or outline only if the background is busy
Simple text animation that looks good
- At frame 0: scale 90%
- After 6 to 10 frames: scale 100%
- Add fade in if needed That’s it. Don’t do 12 bounces.
Minute 8: Audio setup (beats, voice, and keeping levels sane)
Add music
- Tap +
- Choose Audio
- Import from Files or your library (depends what the app shows you)
Align to beat
Zoom into the waveform. Place cuts on obvious peaks. If you can’t see waveform detail, increase timeline zoom and make sure you’re not in a low-detail preview mode.
Quick (https://deohs.washington.edu/using-niosh-noise-app)
Minute 9: Export settings that look sharp on social (and don’t explode file size)
This is the part people rush, then wonder why the upload looks crunchy.
Tap Export.
Recommended export settings for 9:16 social (2026)
- Format: MP4
- Codec: H.264 for maximum compatibility. If your platforms support HEVC/H.265, it can produce smaller files at similar quality, but prioritize compatibility first.
- Resolution: Match your project (usually 1080p)
- Frame rate: Match your project (30 or 60 fps)
- Bitrate: For 1080p, aim for 10 to 20 Mbps. If you are exporting at 60 fps, lean toward the higher end of that range. Avoid going too low.
If your export looks blurry after uploading
Try these fixes:
- Export at a higher bitrate
- Avoid exporting and then re-exporting in another app
- Upload directly from your phone, as some transfer methods compress the file
- Check whether the platform has “Data Saver” mode enabled
Minute 10: Save a reusable template project (so next time is 1 minute)
This is the sneaky pro move.
Create a starter project with your usual resolution and frame rate, a text layer using your go-to font, a color adjustment layer if you use one, and a basic intro animation if that is part of your standard workflow.
Duplicate it every time you start a new edit. You will stop redoing boring setup steps forever.
Common iPhone problems (and quick fixes)
“Alight Motion is lagging like crazy”
Try:
- Close other apps
- Lower preview quality
- Reduce blur, glow, heavy effects until the end
- Precompose heavy layers (if the app supports it)
- Restart iPhone (classic, but it helps)
“Export failed”
Try:
- Free storage
- Export at 1080p instead of 4K
- Shorten the clip and test export
- Remove one effect at a time to find the problem layer
“My text looks jagged”
Try:
- Export higher bitrate
- Avoid tiny thin fonts at small sizes
- Add a subtle shadow to reduce shimmer on busy backgrounds
“Audio goes out of sync”
Try:
- Make sure the frame rate matches the original footage
- Don’t mix 30 fps and 60 fps clips without expecting some weirdness
- If it’s still off, export the audio as a separate file and re-import
A simple first project you can copy (looks good, not hard)
If you want a mini recipe:
- New project: 9:16, 1080p, 30 fps
- Import your clip
- Split out boring parts
- Add a slow zoom with 2 keyframes
- Add text caption with slight scale pop (90% to 100%)
- Add music, cut on beats
- Export MP4, 1080p, 30 fps, 15 Mbps-ish
- Upload straight to TikTok or Reels
That’s it. You’re editing.
Recommended “do this later” features (once you’re comfortable)
Not needed for the 10 minute setup. But these are the things that make Alight Motion feel powerful.
- Graphs / easing: makes motion feel less robotic
- Masking: clean reveals, face blur, cutouts
- Color adjustments: quick mood changes
- Blending modes: light leaks, glow overlays, texture
- Precomps: keep timelines clean and speed up performance
You can learn them one at a time. The app rewards that approach.
A quick wrap up
If you followed the steps above, you now have Alight Motion set up on iPhone the right way. Good project settings, smooth-ish preview, clean imports, and export settings that won’t ruin your quality at the final step.
And yeah the app can get deep. But you don’t need deep to post a strong edit today.
If you want, tell me what you’re making (TikTok edit, lyric video, anime edit, YouTube intro, whatever) and what iPhone you’re on, and I’ll suggest the exact project preset and export settings for that setup.
FAQs (Frequently Asked Questions)
What are the essential preparations before using Alight Motion on iPhone?
Before opening Alight Motion, make sure to update both iOS and the app via the App Store and Settings. Ensure you have 5 to 10GB of free storage to prevent stuttering previews and export failures. Decide where your clips will come from—Photos app for simple imports or Files app for moving packs, fonts, and audio. Optionally, keep a charger nearby and disable Low Power Mode during exports for better performance.
How do I set up the right project preset in Alight Motion for social media videos?
When creating a new project, tap ‘+’ and set the aspect ratio, resolution, frame rate, and background color. For TikTok and Reels, use 9:16 aspect ratio, 1080p resolution, and 30 fps frame rate. The same applies for YouTube Shorts. For normal YouTube videos, use 16:9 aspect ratio with either 30 or 60 fps depending on your footage. For crisp motion design with lots of zooms, consider 1440p resolution but note exports will be heavier.
Which settings in Alight Motion help improve preview smoothness and prevent mistakes?
Inside your project settings (gear icon), adjust these three key settings: Set preview quality to Medium while editing to avoid dropped frames; turn Snapping ON so clips align perfectly without gaps; enable Autosave or project backups if available to protect against crashes.
How can I import video clips correctly into Alight Motion on iPhone?
To import clips cleanly, tap ‘Media’ or the plus button in the timeline, choose ‘Image/Video,’ then select your clip from Photos. If your imported video lacks audio due to format issues, try re-exporting it from your camera app or CapCut, convert it using an iOS Shortcut, or import audio separately as a music file.
What are the basic timeline gestures and tips for managing layers in Alight Motion?
Use pinch gestures to zoom the timeline in or out; two-finger drag to move around horizontally; tap a layer to select it; long press a layer to reorder layers. Immediately rename layers if your project has more than three clips by tapping the layer → options → rename. This habit saves confusion later.
Which tools should beginners focus on first in Alight Motion for quick edits?
Start with these three essential tools: 1) Trim and split clips by moving the playhead where you want a cut, tapping the clip, selecting ‘Split,’ then deleting unwanted parts; 2) Use simple keyframes by selecting a clip, opening ‘Transform’ properties like Position/Scale/Rotation, adding a keyframe at the start, moving forward 10-20 frames, scaling slightly (e.g., from 100% to 108%) for an instant slow zoom effect; 3) Ignore other complex features initially until comfortable.