So you downloaded Alight Motion, opened it up, and… the screen looks busy. Buttons everywhere. A timeline that feels like it belongs in a video editor. Random icons that are probably obvious to someone, just not you. Fair.
This guide is here to make the interface feel normal. Not “master it in 5 minutes” normal. More like, you will know what you are looking at, what to tap next, and why your layers keep doing weird things.
I’m focusing on the Alight Motion interface itself. Where stuff lives. What each area does. The logic behind it. Once that clicks, everything else gets easier.
Note: Alight Motion updates often. The names and icons might shift slightly in 2026. But the layout and workflow are basically the same.
What Alight Motion is really showing you (in one sentence)
Alight Motion is basically: a canvas (preview) + a layer stack + a timeline + a properties panel, and you keep bouncing between them.
That’s it. That’s the mental model.
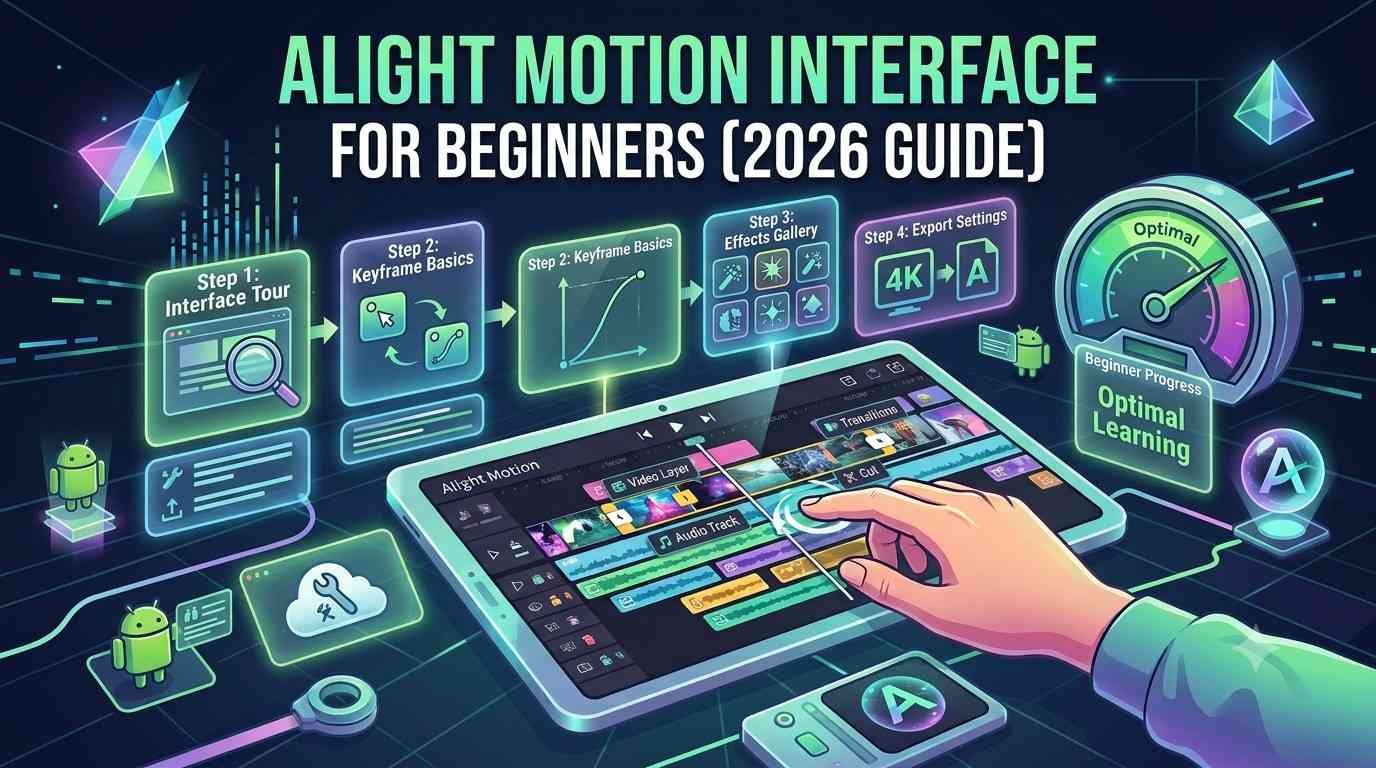
Quick tour: the 4 main zones you’ll use every time
When you open a project, you’ll usually see:
- Preview / Canvas (where you see the video)
- Timeline (where time and keyframes live)
- Layers (the stack of objects, text, shapes, media)
- Tools + Settings panels (where you change properties, add effects, export, etc)
If you can locate these quickly, you stop feeling lost.

Starting screen: Projects, Templates, and the plus button
When you launch Alight Motion, you land on the home area with your existing projects.
What you’ll see here
- Projects list/grid: your saved edits
- Templates / Featured (depending on your version): quick-start edits you can remix
- Search: useful once you have 40 unfinished projects. You will.
- Plus button: this is how you create a new project
New project settings (don’t overthink this, but don’t ignore it either)
When you tap +, you usually choose:
- Resolution: 1080p is fine for most edits
- Frame rate: 30fps is safe, 60fps is smoother (and heavier)
- Background: transparent or a color
- Aspect ratio: 9:16 for Reels/TikTok, 16:9 for YouTube, 1:1 for posts
You can change some of this later, but it’s nicer to get it right now.
The preview canvas: your stage (and your trap)
The canvas/preview is where you see what you’re making. You tap things here to select them, reposition, scale, rotate, and sometimes to open their controls.
Common beginner confusion
You tap an object on the canvas, but nothing happens, or the wrong thing gets selected. That’s usually because:
- the layer is locked
- you’re actually tapping another layer above it
- the object is offscreen
- you’re in a tool mode that doesn’t select
So if selection feels broken, check the layer list first.
Gestures you’ll use constantly
- Pinch: zoom canvas in/out
- Two-finger drag: pan around
- Tap object: select
- Drag handles: scale/rotate
Pro tip that sounds obvious: zoom in when aligning. Your eyes lie at normal zoom.

The layer list: the “Photoshop brain” part of Alight Motion
If you’ve ever used Photoshop, the layer list will feel familiar.
What a layer is in Alight Motion
A layer is anything placed into the project:
- Video
- Image
- Text
- Shape
- Audio
- Group (folder-like container)
The stacking rule (important)
Layers on top visually cover layers below.
If your text “disappears,” 8 times out of 10 it’s behind something else.
Typical layer controls you’ll see
Depending on the version, you’ll see icons like:
- Eye: hide/show layer
- Lock: prevent editing
- Dropdown arrow: expand layer contents, effects, masks, etc
- Color tag / label (sometimes): helps organize
Reordering layers
Press and drag a layer up or down in the stack. This changes what’s on top.
The timeline: where edits become motion
The timeline is the strip at the bottom (or lower portion) where time runs left to right.
If Alight Motion feels intimidating, it’s usually the timeline.
But the timeline is just:
- when a layer appears
- how long it lasts
- where keyframes happen
The playhead
That vertical line is the playhead. Wherever it sits is the current time.
- Move the playhead to preview different moments
- Keyframes are added at the playhead position
- Trimming happens relative to where you’re working
Trimming and moving clips (basic moves)
- Drag a layer’s ends to trim
- Drag the whole bar to move it earlier/later
If you’ve ever edited video, this part is familiar. The difference is that everything is layered and animatable.
The toolbar icons: what they usually mean (beginner translation)
Icons change a bit across updates, but the functions stay stable. Here are the ones you’ll care about early.
Add media / add layer
This is where you add:
- Image
- Video
- Audio
- Shape
- Text
New users often add the right thing… but at the wrong time position. Before you add, place the playhead where you want the new layer to start.
Transform tools
Transform is the classic set:
- Position
- Scale
- Rotation
- Opacity
In Alight Motion, these can be animated with keyframes.
Effects
Effects are filters and adjustments applied to a layer. Example:
- Blur
- Glow
- Color correction
- Distortions
- Sharpen
- Chromatic aberration (depending on your build)
Effects stack. Order matters. Yes, like Photoshop again.
Export / Share
The export button usually sits top right. Don’t worry about export settings yet. But do know this:
- Higher bitrate = bigger file, better quality
- Higher frame rate export is smoother if your project is actually animated smoothly
We’ll come back to export at the end.
The properties panel: where settings hide in plain sight
This is the part beginners miss. They look for a “settings” screen, but in Alight Motion settings are mostly contextual.
Meaning: you select a layer, and then the properties shown are for that layer.
So if you select text, you’ll see text controls. Select a shape, you’ll see fill/stroke. Select audio, you’ll see volume/fade.
If the controls you want are “missing,” you probably have the wrong layer selected.
Keyframes: the little diamond that runs everything
Keyframes are what make motion happen.
What a keyframe is
A keyframe is basically:
“At this time, the value is X.”
For example:
- At 0:00, scale is 0%
- At 0:10, scale is 100%
Alight Motion fills in the motion between those points.
Where you’ll see keyframes
- In the timeline, on the layer track
- Next to properties (often a diamond icon)
- Sometimes inside expanded layer parameters
A simple beginner workflow
- Move playhead to start
- Set a value (like position)
- Add keyframe
- Move playhead forward
- Change the value
- Preview
If step 3 doesn’t happen, nothing animates. And yes, it’s annoying at first.

Groups: the feature you’ll ignore, then suddenly can’t live without
A group is like a folder that lets you move/animate multiple layers together.
When to use groups
- You have text + shape + icon that should move as one
- You want to apply an effect to multiple layers at once
- You want to keep the layer stack clean
Common mistake
People group layers, then can’t select individual ones.
That’s normal. You usually need to enter the group (tap into it) to edit inside. Then back out to animate the whole group.
Masks: the “why is my layer invisible” feature
Masks are powerful, but they cause chaos if you don’t realize you turned one on.
What masking does
A mask decides what part of a layer is visible.
Common uses:
- reveal text as it slides in
- create a cutout
- hide part of a clip behind a shape
Beginner clue that a mask is involved
Something is visible only in a weird area, or disappears when moved slightly. Check if the layer has a mask applied or is being used as one.
Blend modes: when colors start doing magic (or nonsense)
Blend modes change how a layer interacts with layers under it.
If you’ve used “Screen” or “Multiply” in other apps, same idea.
Easy blend modes to remember
- Screen: brightens, great for light leaks and glows
- Multiply: darkens, good for shadows/textures
- Overlay: contrast pop, can look intense fast
If your layer looks washed out or too strong, blend mode is a suspect.
Audio area: yes, it is there, and yes, it matters
Alight Motion supports audio layers in the same timeline.
What you can do easily
- Trim audio
- Move audio timing
- Adjust volume
- Fade in/out
What you cannot expect (as a beginner)
It’s not a full DAW. Don’t expect complex mixing tools. If you need serious audio work, do it elsewhere and import the final track.
The timeline zoom and snapping (two tiny things that save hours)
Timeline zoom
If keyframes feel hard to tap, zoom the timeline.
Usually:
- pinch horizontally on timeline
- or use a zoom control if your version has it
Snapping
Snapping helps align layers and keyframes to the playhead or other elements.
If things keep landing slightly off beat, turn snapping on. If snapping prevents tiny adjustments, turn it off temporarily. You will switch it back and forth. Everyone does.
The most common interface problems beginners hit (and the quick fix)
1) “I can’t move my text”
- Check if the layer is locked
- Check if you’re selecting the correct layer
- Try selecting the layer from the layer list, not the canvas
2) “My clip is black / invisible”
- Layer is hidden (eye icon)
- Opacity is at 0
- The layer starts later in the timeline
- There’s a mask or blend mode doing something weird
3) “Keyframes aren’t working”
- You changed a value but didn’t create a keyframe at the start
- You’re editing the wrong property (example: editing group instead of inside layer)
- Playhead isn’t where you think it is
4) “Everything is lagging”
- Too many effects (blur/glow are heavy)
- Too high resolution preview
- Too many layers with motion blur or complex blending
- Your phone is… just tired
Quick fix: hide layers while working, reduce preview quality, or pre render sections if your workflow supports it.
A simple practice project (so the interface makes sense fast)
Do this once. Seriously. It makes every button feel less random.
Project setup
- 1080×1920 (9:16)
- 30fps
- background: dark gray
Add 3 layers
- Shape: a rectangle
- Text: your name
- Audio: any short beat
Make a basic animation
- Rectangle slides in from left using position keyframes
- Text scales from 0% to 100%
- Add a simple blur effect on rectangle, then reduce it over time with keyframes (optional)
You’ll touch:
- add layer
- layer stack
- timeline trimming
- keyframes
- effects panel
That’s basically the whole app.
Export screen: what the options usually mean (without overcomplicating)
When you tap export, you’ll see options like:
- Format: MP4 is the standard
- Resolution: match your project unless you have a reason
- Frame rate: match project (30 or 60)
- Bitrate: higher = cleaner, bigger file
- Audio: keep on unless you want silent
If your export looks crunchy:
- raise bitrate
- avoid exporting multiple times (re encoding hurts quality)
- keep sharpness effects under control

Interface cheat sheet (save this mental map)
If you forget where something is, use this:
- Want to add stuff: Add layer button
- Want to see what’s on top: Layer stack
- Want to change timing: Timeline
- Want to move/scale/rotate: Transform controls
- Want to make it animate: Keyframes
- Want to make it look cooler: Effects (but don’t stack 12 glows)
- Want to finish: Export
Final notes (the honest beginner advice)
Alight Motion feels complicated because it’s not a “one button template app.” It’s closer to a real motion graphics tool, just compressed into a phone screen. So yeah, the interface is dense.
But once you stop trying to memorize every icon and instead learn the layout… canvas, layers, timeline, properties… it becomes predictable. And when it becomes predictable, you start making progress fast.
If you want, tell me what you’re trying to make (edit style, platform, and your phone model). I can map the exact interface steps for that specific kind of project.
FAQs (Frequently Asked Questions)
What are the main interface zones in Alight Motion I should know?
Alight Motion’s interface primarily consists of four main zones: the Preview/Canvas where you see your video, the Timeline where time and keyframes live, the Layers stack containing objects like text and shapes, and the Tools + Settings panels for changing properties, adding effects, and exporting. Familiarizing yourself with these zones helps reduce confusion when editing.
How do I create a new project in Alight Motion and what settings should I consider?
To create a new project, tap the plus (+) button on the home screen. You’ll choose settings like resolution (1080p is usually fine), frame rate (30fps is safe; 60fps is smoother but heavier), background (transparent or color), and aspect ratio (9:16 for Reels/TikTok, 16:9 for YouTube, 1:1 for posts). It’s best to set these correctly upfront but some can be changed later.
Why can’t I select or edit an object on the canvas in Alight Motion?
If tapping an object on the canvas doesn’t select it or selects the wrong thing, common reasons include: the layer being locked, another layer above it blocking selection, the object being offscreen, or you being in a tool mode that doesn’t allow selection. Check your layer list to troubleshoot selection issues.
What does a ‘layer’ mean in Alight Motion and how does layering affect visibility?
A layer in Alight Motion is any element placed into your project such as video clips, images, text, shapes, audio, or groups (folders). Layers stacked on top visually cover those below them. So if your text disappears, it’s often because it’s behind another layer. You can reorder layers by dragging them up or down in the stack.
How does the timeline work in Alight Motion for editing motion?
The timeline runs left to right showing time progression. It controls when layers appear, how long they last, and where keyframes are placed. The playhead indicates current time; moving it previews different moments. You can trim clips by dragging their ends or move them earlier/later by dragging the whole bar. Understanding this helps you animate effectively.
What are some essential toolbar icons beginners should know in Alight Motion?
Key toolbar icons include Add Media/Add Layer which lets you insert images, videos, audio, shapes, or text into your project. Beginners often add media at incorrect timeline positions—it’s important to place the playhead where you want new media before adding it. Other icons relate to locking layers, hiding/showing layers with an eye icon, expanding layer details with dropdown arrows, and color tagging for organization.