Have you ever watched a music video or a movie trailer where the background moves slower than the person in the front? It looks like a 3D world inside a 2D photo. That magic trick is called a Parallax Effect. To Download Alight Motion APP for mobile , my site is best.
In 2026, you do not need an expensive camera or a Hollywood computer to do this. You only need your smartphone and a powerful app called Alight Motion.
This tutorial will turn you into a creator. We will go step-by-step, using simple words, so even a 10th-grade student can follow along and make professional-looking Cinematic Videos for TikTok, Instagram Reels, or YouTube.
What is a Parallax Effect? (Explained Simply)
Let us break down the big words. Parallax is just a fancy way of saying “things closer to you move faster than things far away.”
Imagine you are in a moving car. Look out the window. The street lamps zip by super fast. But the mountain in the distance barely moves. That is parallax. It is Depth Perception.
When we add this to a still photo or a video, we trick the brain into thinking a flat picture is actually a 3D movie. It makes your Motion Graphics look expensive and Cinematic.
In 2026, social media apps love this effect because it stops people from scrolling. When you master the Parallax Effect, your videos will look like they belong in a movie theater.
Why Use Alight Motion in 2026?
You might be wondering, “Why this app?” There are many editing tools out there, but Alight Motion is special. According to the latest 2026 reviews, it is the first professional Motion Design App that truly works like desktop software on your phone .
Here is why it is the best tool for this job in 2026:
- It Supports 4K 60fps: Your parallax videos will look buttery smooth and sharp .
- Vector Support: Unlike normal photos that get blurry when you zoom in, Vector Graphics stay sharp. Alight Motion lets you use these easily .
- The Camera Tool: This is the secret sauce. Alight Motion has a virtual Camera Layer that can zoom and pan across your layers. This is exactly how Hollywood does it .
- It is Free to Start: You can learn all these skills without paying a dime. When you get good, you can upgrade to remove the watermark .
Step-by-Step Guide to Building Your Cinematic Parallax
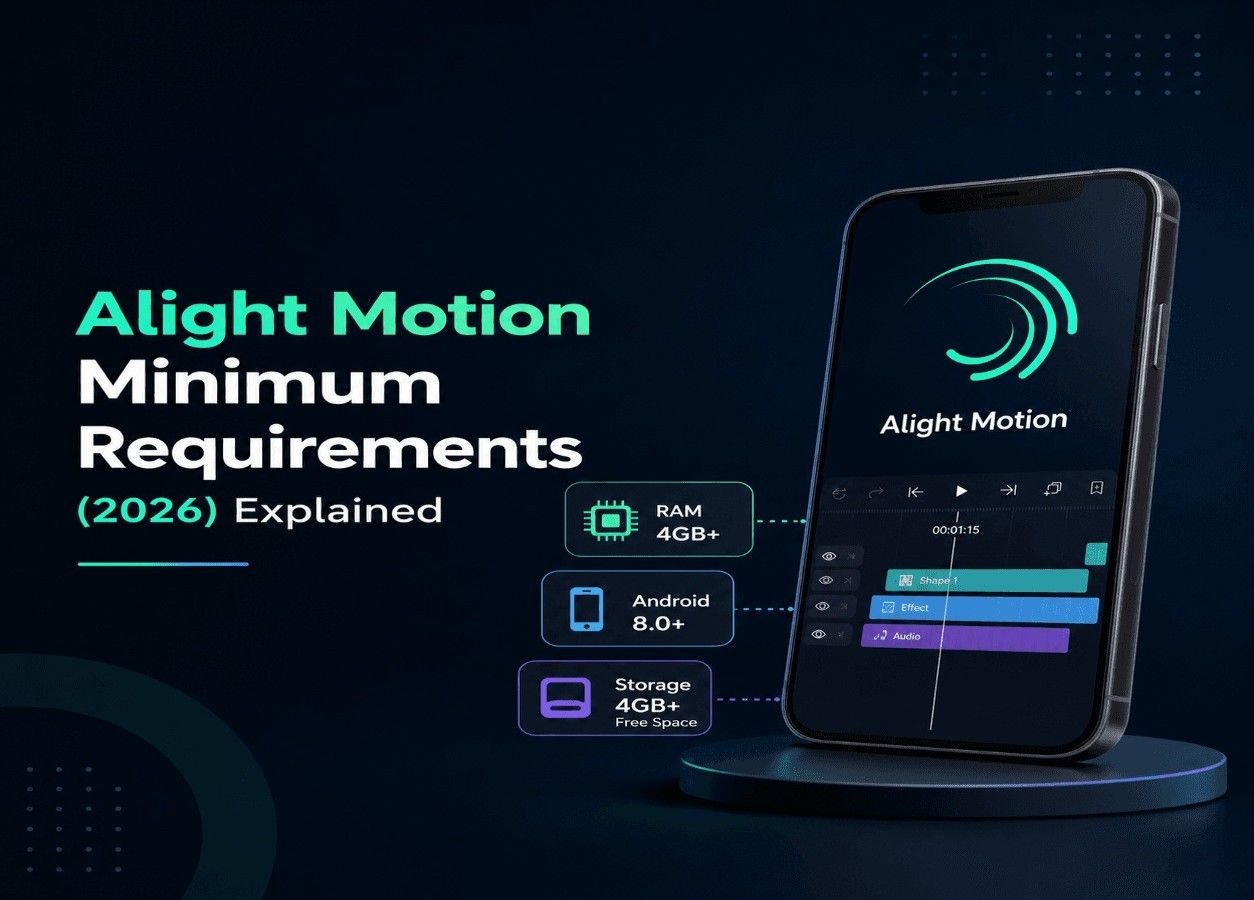
Alright, let’s stop talking and start creating. Open your Alight Motion app. Make sure you have the 2026 version (Version 5.0 or higher) so you have all the new speed boosts .
Step 1: Setting Up Your Project
First, we need to set the stage.
- Open the app and tap the “+” (Plus) button to create a new project.
- For Cinematic looks, change the Aspect Ratio to 21:9 (Ultra Widescreen). This gives you those black bars at the top and bottom like a movie.
- Set the Frame Rate to 30 or 60 fps. Higher is smoother.
- Tap Create Project.
Step 2: Cutting Your Subject (The Hard Part)
To make the background move separately from the person, the person must be alone on their own layer. This is called Cutting Out.
- Tap “Add Media” and import your photo.
- Tap the photo layer to select it.
- Look for the Mask panel (it looks like a circle with a dashed line).
- Choose the Pen Tool (Vector) . This is the best tool in 2026 because it snaps perfectly to edges.
- Zoom in on your subject. Tap around the edges of the person or object you want to keep. You are drawing a path.
- Once you close the path, everything outside the lines disappears. You have successfully isolated your subject.
Pro Tip: Do not worry if it is not perfect. The 2026 version of Alight Motion has a “Refine Edge” slider that helps catch hair or fuzzy details .
Step 3: Filling the Background (The Clone Trick)
Now you have your person floating on a transparent background. But the original picture had a background. We need to rebuild that background so there are no holes when we move it.
- Hide the cut-out layer by tapping the eye icon next to it.
- Import the same original photo again on a new layer. Put this one behind the cut-out layer.
- We need to fill the space where the person used to be. Use the Clone Stamp tool (found in the tools menu).
- Paint over the person using the empty space around them. For example, if there was a wall behind their head, use the clone stamp to copy the wall over their head.
- This creates a clean “Empty Room” background.
Step 4: Creating the 3D Depth
Now we have two layers:
- Layer 1 (Bottom): The empty background.
- Layer 2 (Top): The cut-out person.
To get the Parallax Effect, we need to make the background layer bigger.
- Select the Background Layer.
- Go to the Transform tool (the arrows icon).
- Increase the Scale to about 105% or 110%. We do this because when the camera moves, we need room to slide the picture around without seeing the white edges.
- Now, select the Person Layer. Do not scale them up. Keep them at 100%.
Step 5: Animating the Camera (The Magic Button)
Here is where Alight Motion shines in 2026. We will use the Camera feature to do the heavy lifting.
- Tap the Camera icon in the top bar (or go to the Layers panel and add a Camera Layer).
- You will see a big box appear. This box is your “Screen.” Whatever is inside the box is what the viewer sees.
- Keyframes are how we tell the app to move. Move the playhead (the blue line) to the beginning (0 seconds).
- In the Camera settings, tap the Stopwatch icon next to Position to add your first keyframe.
- Move the playhead to the end (3 or 4 seconds).
- Now, drag your finger on the screen to move the Camera Box slightly to the left or right.
- Watch what happens! The background (which is scaled up) moves a lot.
- The Person (normal size) moves just a little.
- The Camera moves them at different speeds automatically! This is the Parallax Effect .
Step 6: Adding Cinematic Focus Blur
Real cameras cannot focus on everything at once. We need Depth of Field.
- Stay in the Camera Settings.
- Scroll down until you see Focus Blur or Fog (depending on your version) .
- Turn on Focus Blur.
- Set a keyframe for Focus Distance. Make the background slightly blurry while your person stays sharp.
- This forces the viewer’s eye to look only at your subject. It instantly makes your edit look professional.
Advanced Tricks for 2026
Once you master the basics, you can blow your friends’ minds with these next-level tricks. The Alight Motion community in 2026 is using these to get millions of views.
The “Ken Burns” Parallax
Ken Burns is a famous filmmaker who zooms into photos. Combine this with Parallax!
- Instead of just sliding the camera sideways, Zoom In using the camera scale property.
- While you zoom in, the background slides. It creates a very emotional, dramatic effect.
3D Photo with Fog
- Cut out a person.
- Find a background with mountains.
- Add a Fog Layer. You can draw white clouds or use a smoke video.
- Place the fog between the background and the person.
- As the camera moves, the fog moves differently. It makes the air look thick and real .
Text Parallax
- Create text that says “2026” or “Dream.”
- Put the text behind a cut-out object (like a lamp post or a person’s shoulder).
- When the camera moves, the text slides out from behind the object. It looks like the text is living inside your video.
Exporting Your Masterpiece
You did the hard work. Do not ruin it at the finish line. Here is how to export for Social Media in 2026 .
- Tap the Export button (the share icon in the top right).
- Format: Choose MP4 (this works on every platform).
- Resolution: Choose 1080p or 4K if your phone supports it.
- Frame Rate: Match your project settings (30 or 60 fps).
- Bitrate: Set this to High or 20 Mbps. This keeps the video looking sharp without making the file too big.
- Remove Watermark: If you have a subscription, toggle this on. If not, the watermark will be there, but you can still share your work to show your skills.
Troubleshooting (Fixing Common Problems)
Even experts mess up sometimes. Here is how to fix the most common issues in Alight Motion.
- Problem: “I see a white border around my cut-out.”
- Fix: When you zoomed in on the background, you made it too big. Go to the background layer and turn the scale down from 110% to 102%. Or, use the Blur tool on the edges of the mask to soften the line.
- Problem: “The movement looks jumpy, not smooth.”
- Fix: You need Easing. Tap on the keyframe diamond. Change it from “Linear” to “Smooth” or “Ease In & Out.” This makes the camera start slow, speed up, and stop slow, just like a real human holding a camera .
- Problem: “My phone is lagging.”
- Fix: The 2026 version is fast, but Parallax uses big images. If it lags, turn on Proxy Mode in the settings. This shows you a lower-quality preview while you edit, but exports in full quality.
Why This Matters in 2026
You might be thinking, “This is cool, but why learn it right now?” Because the internet is changing. In 2026, AI can write text and create weird images, but AI is still very bad at understanding Physical Depth and Camera Movement.
Parallax Effects trick the human brain. They trigger a reaction called the “Orienting Response.” That is just a science way of saying: “Your eyes are forced to look at this.”
When you post a Cinematic Parallax video on a scrolling feed like Reels or TikTok, people stop scrolling for 0.5 seconds longer than normal.
In the algorithm world, that is gold. By using Alight Motion, you are not just making art; you are making High-Engagement Content.
Conclusion
You do not need a movie studio. You just need your phone and Alight Motion. We learned that a Parallax Effect is just moving the background faster than the foreground. We learned how to use the Camera Tool to create smooth Motion Graphics. We learned how to use Focus Blur to look cinematic.
The barrier to entry for Video Editing has dropped to zero. In 2026, Alight Motion is the tool that separates the beginners from the pros.
Go ahead. Open the app. Take a selfie or a photo of your dog. Follow these steps. You will be shocked at how amazing your first 3D Parallax Video looks.
Now, go create something awesome.
Disclaimer: This guide is for educational purposes. All trademarks belong to their respective owners. Always respect copyright laws when using images.